
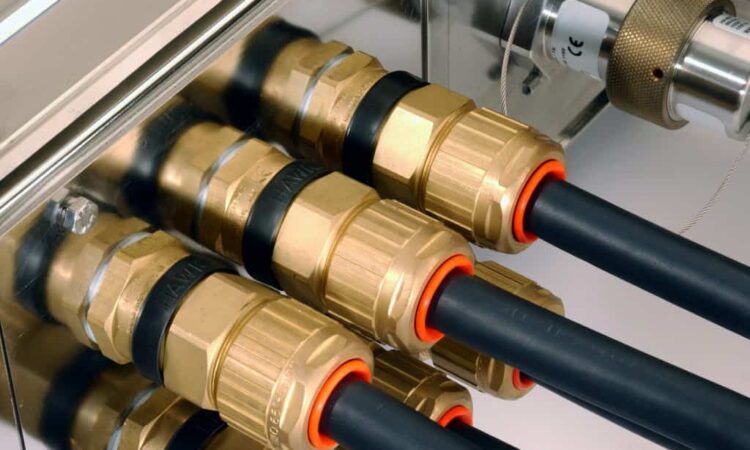
The explosion-proof gland is designed to connect and secure the end of the power cable and the device connected to it in a hazardous area, the explosion-proof cable plays an essential role in cable management. In addition, earthing provides grounding, insulation, bonding, pressure relief, and also repels contaminants such as dust, dirt, and fluids. As such, proper installation of the cable connector is essential to ensure optimal performance. In the following, we will teach the installation of explosion-proof gland.
Training to install explosion-proof gland
The process of installing the gland depends on the type of explosion-proof cable you are using. However, the basics are generally the same. So you can use what we have shared as a template. However, before starting, please ensure that the installation is carried out by a qualified professional with relevant experience and knowledge.
Step 1 Installation of explosion-proof gland
Before starting the installation process, make sure that all electrical equipment and power cords are turned off and disconnected. We also recommend checking the cable tube to make sure it is the correct size and compatible with your cables.
In addition, follow the manufacturer’s instructions and ensure that you always follow workplace safety practices. If you work in a dusty environment or have solvents and chemicals in your workplace, you need to properly maintain your cable glands to avoid exposure to these substances. Finally, be careful not to damage the loose input wires.
Step 2 installation of gland cable
Now that you’re ready to start, open the explosion-proof cable and remove the nut. To get the right length for the pipe size, you need the right tool to strip the outer sheath of the cable. Don’t forget to expose the internal metal armor if there is any.
Step 3 installation of gland cable
After completing these steps, insert the right end of the gland into the cable before placing the sheath or armor evenly around the gland. After that, re-lubricate the nut and carefully tighten it using a wrench or similar tool to secure the gland.
Please note that some cables have two halves. These are designed to fit on both sides of the enclosure to ensure cable sealing. To install this cable gland, you must drill a hole in the wall of the application before securing each half of the gland.
Installation of armored cable gland
- Those using steel armored cables (SWA) require explosion-proof armored cables for their applications. To fit these cables onto the SWA cable, you’ll need two wrenches of the right size and a pair of quality wire cutters.
- Place the explosion-proof cable cone under the inner insulation and armor. This operation requires stripping the core wires. Make sure the core wires are on the cone and do not penetrate it, as this may damage the internal insulation.
- Slide the armature handle ring over the cone and screw the armature lock nut back onto the cone, locking the wires in place. Once this is done, you can use your wrenches to tighten each part of the pipe. Finally, apply a bead of sealant to seal the back of the gland. Press the inner seal over the outer insulation and waterproof the cable.
For information about explosion-proof equipment and advice on purchasing it, you can visit theexproof.com website and contact our consultants.
Persian language support Phone: +98935155608
English and Arabic language support WhatsApp: 00971568410575
English and Arabic language support telegram: +16026522982